Pumpkin Spice Cake In Jars Lawrence
Ingredients & Directions 1 c SEEDLESS RAISINS 1 c WALNUTS 2 c ALL-PURPOSE FLOUR 2 ts BAKING SODA 1/4 ts BAKING POWDER 1/2 ts SALT 2 ts GROUND CLOVES 2 ts GROUND CINNAMON 1 ts GROUND GINGER 4 EGGS 2 c GRANULATED SUGAR 1 c SALAD OIL 16 oz Canned PUMPKIN Preheat oven to 325-degrees. Sterilize 8 (12 oz) Ball Quilted Crystal Canning Jars (14400-81400), lids and rings by boiling them for 10 minutes. Leave the lids and rings in the hot water until you’re ready to use them; remove jars and allow the jars to air-dry and cool. Prepare the batter in the meantime. Using a pastry brush, brush the inside of the cooled jars with shortening (DO NOT use Pam or Baker’s Secret); set aside. Coarsely chop the raisins and walnuts; set aside. Sift together the flour, baking soda, baking powder, salt, cloves, cinnamon and ginger in a large bowl. Add raisins and walnuts; toss to lightly combine. In another large bowl, beat eggs at high speed until thick and yellow (2-3 minutes). Gradually beat in the sugar until thick and light. At low speed, beat in the oil and pumpkin; blend well. Gradually stir in the flour mixture until well blended. Divide among the 8 canning jars (should be slightly less than 1/2 full. Wipe the sides of the jar off (inside/ outside) in case you slop or it’ll burn. Place jars onto a cookie sheet or they’ll tip over. Bake 35 to 40 minutes or until a pick inserted into the center of each jar comes out clean. Have your lids and rings ready. Take one jar at a time from the oven; place a lid and ring on and screw down tightly. Use HEAVY-DUTY mitts–the jars are HOT! Place the jars onto your counter top too cool. You’ll know when they’ve sealed, you’ll hear a “plinking sound”. Yields 8 Servings
Jar Cakes

Ingredients & Directions Ever baked cakes in canning jars? It’s neat! ANY quick bread-type cake can be baked in canning jars. I usually bake one jar first — you have to know how high the batter rises. I usually fill ONE jar 1/2 full then bake it to see how high it rises, then go from there. You don’t want the cake to come out of the top of the jar, only to within 1/4 to 1/2 inch from the lip of the jar. Write it down on your recipe (how far you filled the jars)! Once you’ve established how high the cake rises, you can go from there. The first time around is a bit tricky because you won’t know how many jars you’ll need. MOST of the recipes I’ve tried I end up using around 8. Sterilize as many jars as you think you’ll need and go from there. Make sure your LIDS are new, the rings don’t have to be As the jars do seal, the cakes are as moist as the day you put them into the jars–sometimes MORESO. The baking times will vary — the moistness of each cake recipe will determine the time. MOST of the recipes I’ve tried bake in 35-40 minutes. Start checking the cakes at 25- 30 minutes and go from there. YES, the cakes DO slide easily out of the jars IF you use the jars I’ve listed. They’re Ball 12-oz Quilted Crystal Canning Jars (#14400-81400). They can be found at most grocery stores (at least here in California) next to the pectin and other canning supplies. Also, I’ve seen the 12 oz straight-sided (plain) jars (# ?) at Smart & Final. The plain jars work fine too but they’re not as pretty and you have to make your own labels–the jars I use come with decorative labels. One IMPORTANT tip–get your jars NOW! Once summer’s over with they’re very hard to find. Also, when you can, ask for the jars back, they’re NOT cheap. Most folks don’t mind returning them though, they usually want refills! G There will be a little condensation on the lids and some in the jars so when you seal them it’s trapped inside. Don’t worry about getting the water off of the lids before placing them onto the jars, the added moisture doesn’t hurt the cakes in the slightest. Quick bread-type cakes work best, I’ve found that lighter cakes tend to fall when the jars seal. I’m trying to address every question that’s been asked of me before, I HOPE I’ve done that. If I’ve missed anything or if anyone has any questions, don’t hesitate to ask. These make WONDERFUL Christmas gifts and you cn start NOW! Single friends really appreciate these because each jar makes enough for one or two people. I’ll post the recipes I’ve made in my next notes. Try them, they’re FUN and delicious to boot! Be right back with a few more tips… Several folks have asked me how long the cakes can be safely stored…I’m not sure. The longest I’ve been able to keep them (without getting eaten) is 6 months. The jars DO seal, just like any canned good. You don’t have to refrigerate the jars, just keep them in a COOL, dark, dry place. I’ve only had 6 jars go bad on me and that was my fault…put them in a cupboard that got too hot and the seals broke. I now check the jars at least once a week by pushing down on the lid (in the middle); if the lid moves up and down, that means the seal has broken. If you’ve checked the jars frequently, more than likely they’re safe to eat; otherwise, toss the cake. I’ve been making cakes in canning jars for over 3 years and haven’t poisoned anyone so far. 🙂 If you give the jars away, be sure to tell the person to check the jar periodically (if they plan on storing it for any length of time). Not only are the cakes tasty, they’re very pretty to decorate. A hot glue gun is INVALUABLE! You cn glue on dried flowers, ribbons, dough-art …you name it, it can be glued onto the lid, ring and side of the jar. I usually cut out a piece of cloth (about 3 inches larger in circumference than the lid), using pinking shears (so the cloth doesn’t unravel), place a wad of cotton or batting in the center of the lid (take the ring off — the jar lid should be sealed by now), then place the piece of cloth on top and replace the ring. Decorate to your heart’s desire! There are probably a few more tips I’ve forgotten…if anyone has any questions, don’t hesitate to ask. Don’t limit yourself to the recipes I’ve given you…ANY quick-bread type cake cn be baked in canning jars. Lighter cakes tend to fall once the jar seals. Be right back with the first recipe… Linda/BDT Burbank, CA (USA) Yields 1 Servings
Spinach Bread I
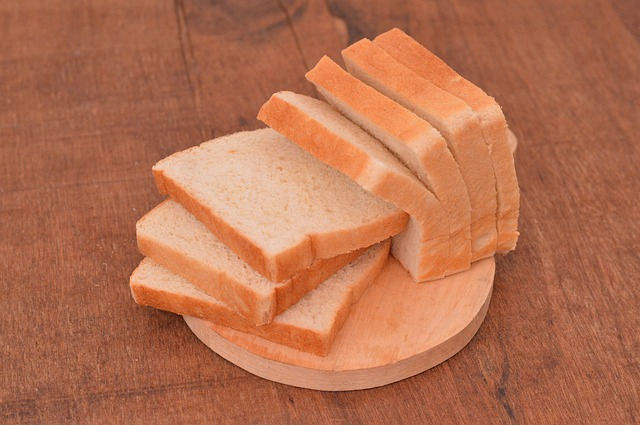
Ingredients & Directions 3/4 c Warm water; (110 to 115 -degrees) 1 ts Honey 2 ts Kosher salt 1 tb Dry active yeast 1/4 c Extra-virgin olive oil; plus 1 1/2 ts Extra-virgin olive oil 3 1/2 c Whole wheat flour 2 lb Fresh spinach – (weighed -before cleaning); -thoroughly cleaned, -stemmed, and leaves thinly -sliced 2 c Finely-chopped onions 1 ts Chopped garlic 1 ts Ground cumin 2 tb Lemon juice 1/2 c Crumbled Feta cheese Preheat oven to 375 degrees. In a bowl combine water, honey, 1 teaspoon of the salt, and sprinkle the yeast over the top. Set aside to foam. Then whisk in 2 tablespoons of olive oil, then sift 1 cup of flour and mix well. Set aside for 1 hour, or until it has a sponge-like texture. Meanwhile, in a medium skillet, heat 2 1/2 tablespoons olive oil and saute onions until tender, about 5 minutes. Then add the garlic, cumin, and remaining salt to the onions. Stir in the spinach, in small batches, and cook until the spinach is soft. Pour on the lemon juice. Drain spinach in a colander and reserve the cooking liquid. In a large bowl, place 2 cups of the remaining flour, making a well in the center of the flour. Pour the spongy mixture into the well. Knead for 10 minutes, adding enough of the cooking liquid to make it pliable yet firm. Transfer to a oiled bowl, cover with plastic wrap and let rise for 2 hours. Add the feta cheese to the dough and knead for 1 minute. Add the spinach mixture, sprinkle with the remaining flour, and mix together quickly. The dough is supposed to be moist and loose, don’t knead again. Form into an oblong loaf and place the dough on a well-oiled baking sheet. Cover lightly with plastic wrap and let proof for 1 hour. Bake the bread for 20 minutes, then reduce the heat to 350 degrees and cook for another 30 minutes. This recipe yields 1 loaf. Yields 1 Servings
Blueberry Lemon Bread
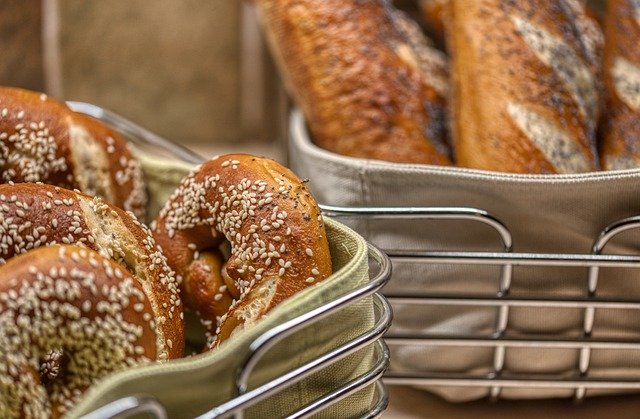
Ingredients & Directions 1/2 c Milk 1/3 c Dried Blueberries 1 Egg 2 ts Sugar 1 tb Butter or Margarine 1 1/2 ts Lemon Peel; finely shredded 3/4 ts Salt 1 1/2 ts Bread Machine Yeast 2 c Bread Flour Add ingredients to bread machine pan in order suggested by manufacturer, addin dried blueberries with flour. Process on basic bread cycle, light color setting, if available. Yields 1 lb loaf
Piccia Calabrese (calabrian Bread)
Ingredients & Directions 2 1/2 ts Active dry yeast 1/2 c Warm water 1 1/4 c Biga 2 tb Lard 2 tb Sliced mushrooms 1 tb Olive oil 3 tb Canned tomatoes with juices 1 sm Anchovy fillets; boned and c 1 tb Capers; drained and chopped 6 sm Cocktail onions; chopped 2 tb Artichokes; finely chopped 3 Gherkins; chopped 2 Roasted red peppers; chopped 1 tb Dried oregano 2 1/4 c All-purpose flour; unbleache 1 ts Salt 3/4 ts Cracked black pepper Recipe by: Carol Field – The Italian Baker Refrigerate the Biga until cold. stir the yeast into the water in a small bowl; let stand until creamy, about 10 minutes. Saute the mushrooms briefly in the oil and let cool. Roughly chop the tomato, mushrooms, anchovy, capers, onions, artichoke, pickles, and red peppers in a food processor fitted with the steel blade. Remove to another bowl. Process the oregano, flour, salt, and pepper with 5 or 6 pulses to mix. Place the cold starter and the lard over the dry ingredients. With the machine running pour the dissolved yeast through the feed tube as quickly as the flour can absorb it. Add the vegetable mixture and process just until combined. Finish kneading by hand on a well-floured surface, sprinkling with 1/2 to 2/3 cup additional flour as needed, until elastic, moist, and velvety. First Rise: Place the dough in an oiled bowl, cover with plastic wrap, and let rise until doubled, 1 to 1 1/2 hours. Shaping and Second Rise: Shape the dough on a floured surface into 1 large or 2 smaller round loaves by rolling the dough first into a taut log, then shaping it into a round loaf. The dough will be slightly sticky; sprinkle the dough and the work surface with flour while shaping it. Place each loaf on a peel sprinkled with cornmeal, cover with a slightly dampened towel, and let rise until doubled, about 50 minutes. Baking: Thirty minutes before baking, heat the oven with baking stones in it to 425F. Just before baking, cut an even slash around the shoulder of the loaf or 3 slashes across the top with a razor. Sprinkle the stones with cornmeal and slide the loaves onto the stones. bake, spraying 3 times with water in the first 10 minutes, for 45 minutes. Cool on racks. From Yields 1 Servings
Strawberry Shortcake Ala Suzy De Bus
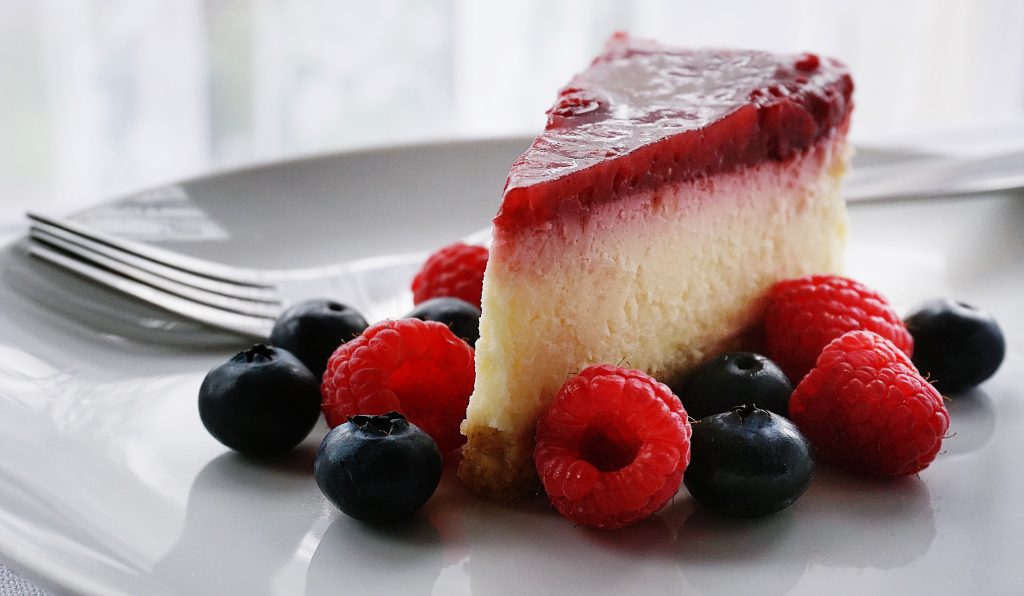
Ingredients & Directions 1 Angel food cake, cut 1 pk Vanilla pudding 1 pk Fresh strawberries -(use lemon pudding if -(use blueberries as a -using blueberries) -substitute) 1 pk Cool Whip Place cake on a serving platter. Cook the pudding and pour over the cake. Add 2/3 to 3/4 of the berries on top of the pudding, and refrigerate. Add the remaining berries to the Cool Whip. When ready to serve, remove the cake from the refrigerator and top the entire dessert with the berry-laden Cool Whip. Yields 4 servings
Heath Bar Brunch Cake
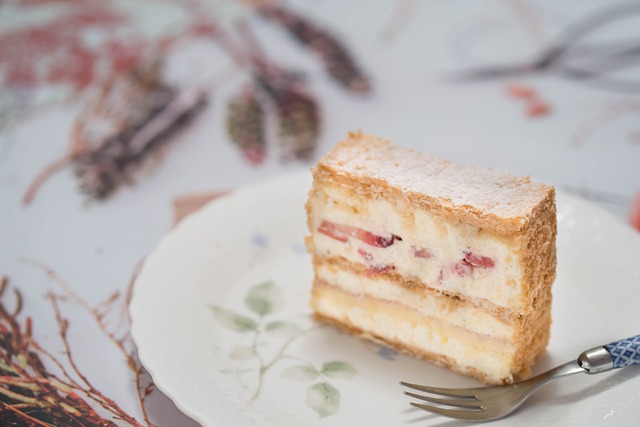
Ingredients & Directions 1/2 c Butter 1 Egg, slightly beaten 1 1/2 c Light brown sugar, packed 1 ts Vanilla 1/2 c Sugar 2 1-1/8oz Heath Bars, finely 2 c Flour, sifted – crushed (chilled) 1/4 ts Salt 3/4 c Pecans, finely chopped 1 c Buttermilk 6 1-1/8oz Heath Bars, finely 1 ts Baking soda – crushed (chilled) 1/8 ts Salt Preheat oven to 350~F. Cream butter and gradually add the light brown sugar and sugar. Blend in flour and 1/4 ts salt; mix well. Reserve 1 cup of this mixture for topping. Combine buttermilk, baking soda, 1/8 ts salt, egg and vanilla. Stir into remaining butter-sugar mix. Fold in 2 finely chopped Heath bars. Turn into a buttered 13 x 9 pan and sprinkle with the 1 cup reserved topping, then with the pecans. Top with additional 6 crushed Heath bars. Bake for 35 – 40 minutes. Serve with cocoa-flavored whipped cream or with coffee ice cream. Yields 16 servings